This website may contain affiliate links and advertising so that we can provide recipes to you. Read my disclosure policy.

Cheesecake is my absolute FAVORITE dessert! I have perfected my method and I can’t wait to teach you how to make cheesecake in this ultimate step-by-step guide. You’re on your way to being a cheesecake-making pro!
No more feeling intimidated when it comes to making cheesecake! This how-to guide is here to save the day. Start by making the BEST New York cheesecake, then move on to this lemon or key lime cheesecake!

Reasons to LOVE This Cheesecake Guide
- Classic Dessert: Knowing how to make cheesecake is a lifelong kitchen skill that will always come in handy for this classic dessert.
- Feel Confident: You will feel confident in no time at all! Once you learn, it gets easier and easier every time.
- Step-by-Step Instructions: I walk you through all the steps, give you all the tips, and answer any questions you might have.
How to Make Cheesecake
Here we go! Cheesecake making 101, and I’m setting you up for success! This ultimate cheesecake guide is everything you need to know and more. I walk you through all the steps and answer commonly asked questions I’ve seen throughout the years. You can apply these tips to all of your favorite cheesecake recipes!
Once you get comfortable, try my Oreo or chocolate cheesecake flavors. You’ll LOVE the endless possibilities when it comes to making this impressive dessert!
Let’s Start with the Crust!
A buttery sweet graham cracker crust is the start to making the perfect cheesecake! Here are the best tips for preparing the crust.
- Springform Pan: This is the best pan to use because it releases from the pan perfectly! Prepare the 9-inch pan by spraying it with non-stick cooking spray.
- Texture: Once combined, the crust texture should resemble damp sand.
- Pressing Tips: Press the crumb mixture into the prepared springform pan by using the bottom of a glass or a flat-bottomed measuring cup. This results in a nice, even crust.
Perfect Filling Ingredients
Here are the ingredients needed for a basic cheesecake filling! Each ingredient is necessary to achieve its smooth and creamy texture.
- Cream Cheese: Full-fat block cream cheese gives the best results!
- Sour cream: Adds moisture and helps make the texture softer/creamier.
- Granulated Sugar: Granulated sugar needs to be beaten into the batter long enough that the sugar dissolves. This process also helps aerate the batter, which aids in the cheesecake rising.
- Eggs: The protein in eggs helps the cheesecake set. If you don’t use enough eggs then the cheesecake will be too soft or won’t set. However, if you use too many eggs then the cheesecake will be too firm with a sunken, cracked center.
Tips For Mixing the Filling
These are the best tips for mixing the cheesecake filling!
- Room Temperature Ingredients: This is SO important! Using cold ingredients will result in a lumpy texture. Set the ingredients out 2 hours before you start.
- Scrape the Bowl: down the sides and bottom of the bowl, a few times with each step of the batter to ensure everything is well incorporated and to avoid any lumps.
- Speed: Don’t mix the batter at too high of a speed! This will add a lot of air into the batter, which you don’t want. Mix on a medium/moderate speed to help everything blend well, but avoid whipping it. Air in a cheesecake will lead it to crack or sink in the center.
- How to soften cream cheese? The cream cheese should be at room temperature, so it’s best to set it out on the counter for 2 hours before preparing the filling. If it’s not very soft, I would put it in a microwave-safe bowl and heat it for 15-20 seconds in the microwave. It should be soft enough to indent with your finger easily, but not so soft that your finger goes more than halfway through it.
Baking Cheesecake in a Water Bath
Water baths help achieve the perfect cheesecake texture! How does it work? It helps the cheesecake bake evenly, so the outside doesn’t bake faster than the center. The water surrounding the pan heats up and stays much more consistent in temperature than hot air. This helps to maintain even baking from the sides to the middle.
How to Make a Water Bath?
A water bath is easy to make! You don’t have to feel intimidated anymore with my helpful steps.
- Heavy Aluminum Foil: I suggest using 3-4 layers of 18-inch heavy-duty aluminum foil to wrap around the pan. Wrap the bottom and sides of the crust-lined pan, then pour in the filling. The foil prevents water from getting into the pan.
- Roasting Pan: A large roasting pan is large enough to hold the foil-wrapped cheesecake and the water. Place the foil-lined pan in the center of the roasting pan.
- Water: Fill the pan with water until it reaches about halfway up the sides of the pan. I find it easiest to do this with the pan already in the oven. I pour in the water using a large liquid measuring cup and use about 1 quart of water.

Water Bath Alternative
Place a large sheet pan on the rack directly underneath the cheesecake and fill it with hot water. This creates humidity to help prevent cracking as it bakes, but it won’t ensure the cheesecake bakes evenly. You still run the risk of the outside of the cheesecake baking faster than the center. However, it will help lessen this compared to not using water at all.
Baking Without a Water Bath
If you choose not to use a water bath, your cheesecake will take 15-30 minutes longer to bake because the center will take longer to set. The cheesecake will rise quite a bit more and brown on top. Once it hits the right wobble in the center, turn off the oven and finish the cooling process as directed.

How Do I Know When My Cheesecake is Done?
The best way to know when your cheesecake is done baking is to do the wobble test. It’s a gentle shake of the roasting pan to test if the center “wobbles.” Here are some tips to help you test and look for doneness.
Wobble Test Tips
- Limit Opening the Oven: Avoid opening the oven until an hour of baking time has passed. After the hour, open the oven only once or twice to test the cheesecake’s wobble. Opening the door will let out the moisture and cause the temperature to drop. Both of these factors can lead to your cheesecake either falling or cracking.
- Gentle Shake: Give the roasting pan a gentle shake. When the cheesecake is done it should have a bit of a wobble in the center, but less movement on the outer inch or two. If the whole thing is wobbling, then it needs 10-15 more minutes.
- Turn Off the Oven/ Leave the Cheesecake: Once there is a slight wobble only in the center, turn off the oven, but leave the cheesecake. Keep it in the oven for at least an hour, or until the oven has reached room temperature. This will allow it to continue baking as it slowly reaches a cooler temperature. If you remove it from the oven at this stage without letting it cool down, the center won’t finish setting and the temperature change will likely cause the cheesecake to sink and crack.
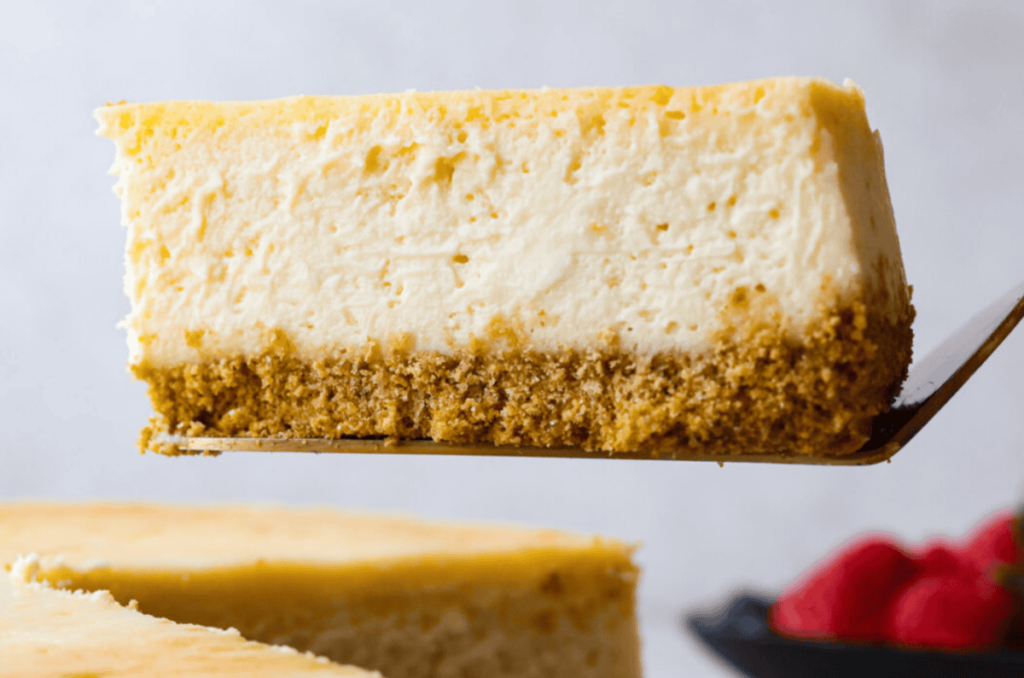
Under-baked or Over-baked?
Once you slice into the cheesecake, it should be firm throughout but smooth and creamy. If the center is very soft the cheesecake is underbaked. If the texture is grainy, the cheesecake is over-baked.

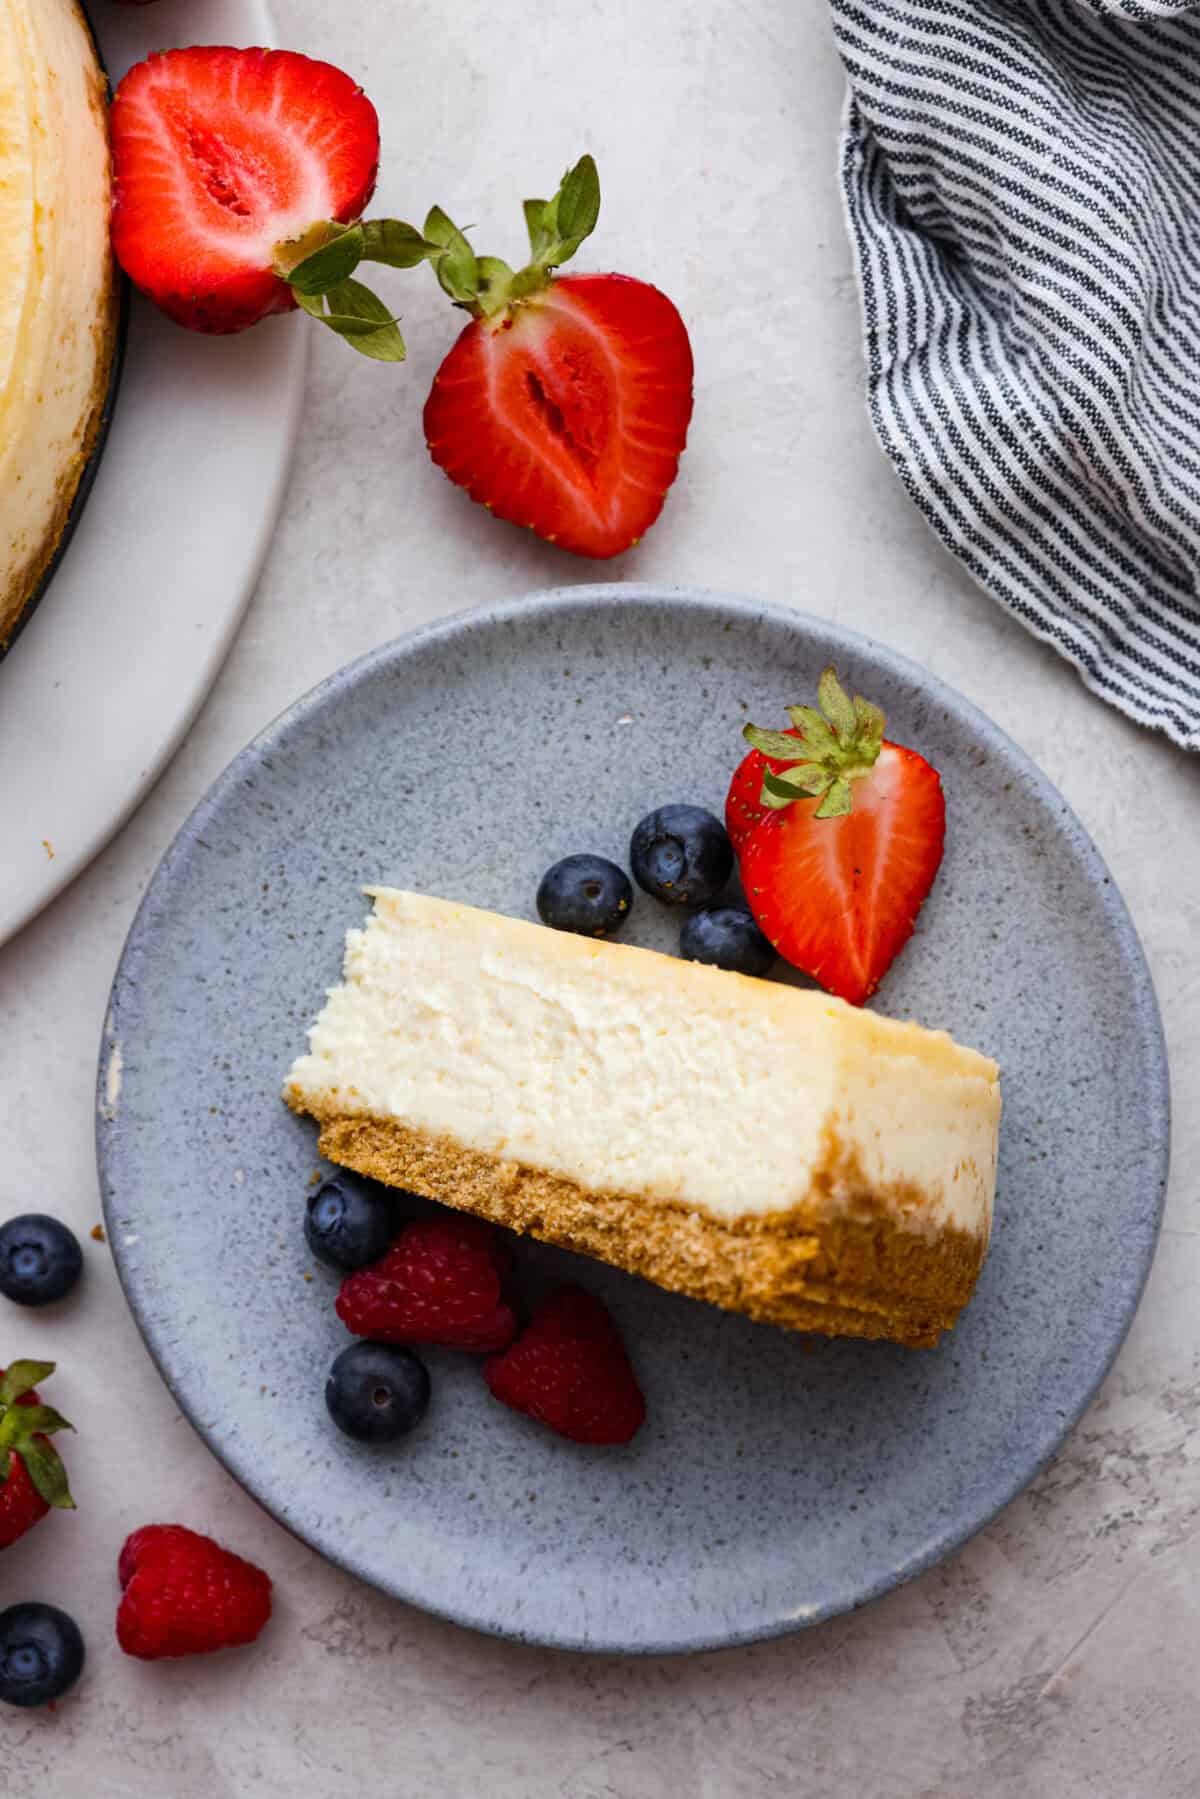
Tips For Slicing Cheesecake
Cheesecake is all about the presentation and these tips help you achieve perfect slices every time!
- Releasing the Cheesecake From the Pan: Run a sharp paring knife around the outside of the pan before opening the springform pan.
- Hot Knife: When slicing the cheesecake, use a large, sharp chef’s knife. Run the knife under very hot water to get that perfect clean cut.
- Cutting: Wipe the knife clean after each cut. Heat the knife before every new cut and dry it with a paper towel or a clean kitchen towel before slicing.


Cooling, Chilling & Storing Cheesecake
It’s best to make your cheesecake a day in advance! Here are tips for cooling, chilling, and storing it until it’s time to serve it!
- How to Cool and Chill: Allow the cheesecake to cool on the counter for 1-2 hours or until it reaches room temperature. Cover and chill it in the refrigerator for 3-4 hours or overnight.
- In the Refrigerator: Store for 4-5 days in an airtight container or wrapped tightly in plastic wrap.
- In the Freezer: Store in an airtight container or wrap with plastic wrap in tin foil. Your cheesecake will stay good for about 1 month. Thaw overnight in the fridge before you serve it!